Showing posts with label cold wax and oil class. Show all posts

Wednesday, April 27, 2016

Creating Oil and Cold Wax Pieces in 5 Hours


Putting down the first layers


I recently returned from teaching at Artiscape, an amazing retreat organized by European Papers. I had so much fun at this retreat in Dublin, Ohio. 

The format of the retreat is to have shorter classes with a five hour maximum. Did I dare have just five hours to teach oil/cold wax painting? Well, I've gotten more daring the older I get, so I went for it and it worked out. Students quickly got it that they needed to work on a whole bunch of pieces at once. They worked on Arches oil paper and stone paper and they learned how to use a solvent to create a looser paint film while still retaining the cold wax look. 

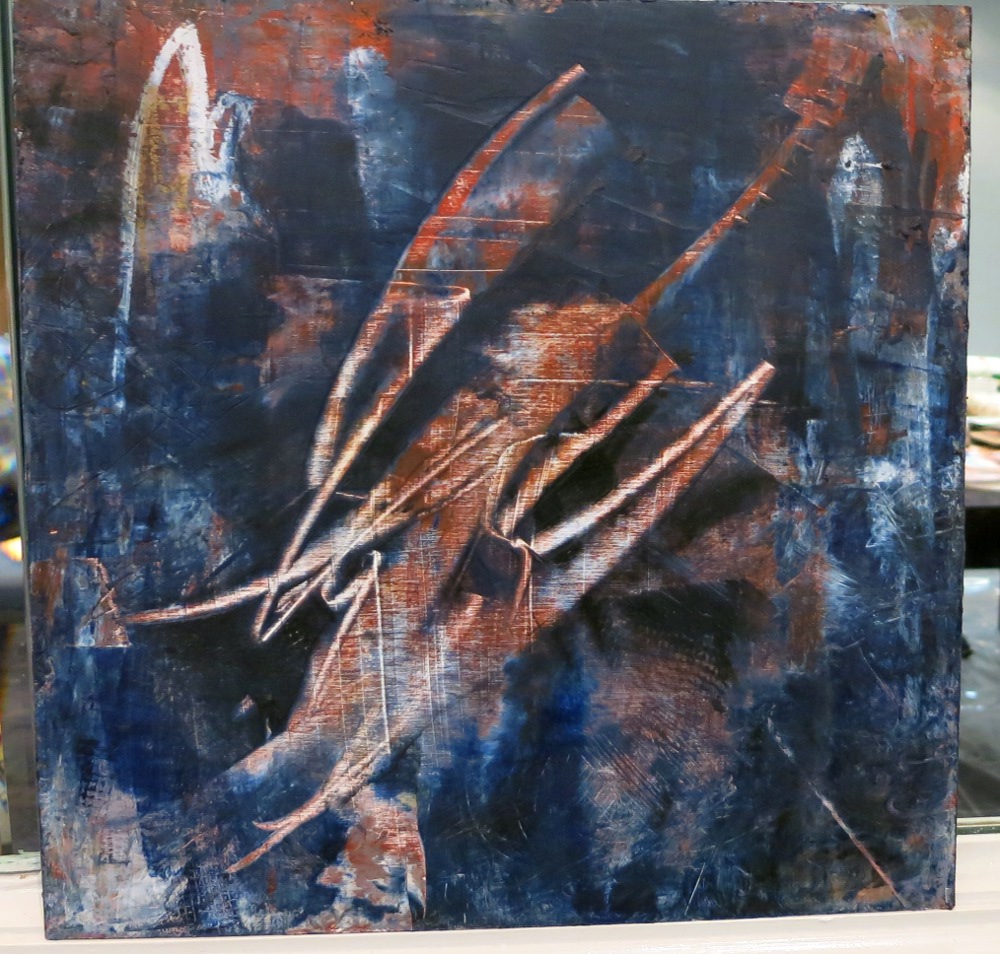
Students also made good use of the techniques of incising into a wet or partially dry paint layer and of scraping back paint with a pottery tool to reveal previous layers. The shiny areas you'll see in some of the pieces were made by adhering Mona Lisa Simple Leaf onto the support using the cold wax as a glue. Some of the pieces incorporate collage, using a variety of lightweight papers.

I didn't do so well at photographing the work, unfortunately. I've made heavy use of the "unsharp mask" filter in many of the images, and there's my shadow quite visible in most pictures. Still, I hope you can get an idea of the boldness and gusto of the class participants!


  One of the best parts of the class is when we tear off the frog tape masking the edges of the painting. (See above and below.)


Here's some bold abandon!


It's important to comb your painting!


Okay, I'm realizing how long this post is going to be. But it's almost all pictures, so keep scrollin' and enjoy the variety of joyous work.


Yes, Virginia, you can add rubber stamping to your piece.


Wednesday, October 14, 2015

A Quick Question and Answer, and On To Oil/CW Part III

Student Work on Arches Oil Paper


The last installment of pieces created by my oil and cold wax class at the recent Art and Soul Retreat at Virginia Beach. First, a quick question I received today from one of my students there, and my answer.

Q. My pieces are pretty dry now. What is the final coat of clear cold wax for? Do I frame with glass?

A. The final clear coat is optional but I do it and so do most cold wax artists because:

1. It seals the surface, protecting the piece from dust and dirt
2. It gives the piece an even sheen all over
3. It looks extra pretty:) 

If you do put on the final layer of clear wax, wait a little longer. I know you've already waited a long time! But wait another couple of weeks or so. Then brush or rub a thin layer of the wax on the piece. Then wait some more while the wax throughly dries. Then buff. This makes a slight sheen, especially on the paper paintings.

If you have a piece on paper and you want the formerly taped white edge to show, just frame without glass. If you want to use glass, put a mat around the border to keep the painting from touching the glass, as oil paint doesn't like glass. If the piece is on board, don't use glass.

And now, the paintings! A long post, but if you are interested in oil/cold wax, you'll be inspired. I know I am!